Easy Gluten-Free Bread
A slice of Easy Gluten-Free Bread can make any meal special. This delightful bread is not only simple to prepare but also boasts a soft texture that everyone will enjoy. Perfect for sandwiches, toast, or even on its own, this gluten-free option fits seamlessly into various occasions. Plus, it’s naturally dairy-free, making it a versatile choice for those with dietary restrictions.
Why You’ll Love This Recipe
- Quick and Simple: This recipe requires minimal effort and time, making it perfect for busy days.
- Delicious Texture: Enjoy a soft and squishy bread that slices easily and tastes fantastic.
- Versatile Uses: From sandwiches to toast, this bread suits all your culinary needs.
- Dairy-Free Option: Naturally free from dairy, this recipe caters to those with lactose intolerance.
- Freezer Friendly: You can easily freeze leftovers for later enjoyment, ensuring you always have fresh bread on hand.

Tools and Preparation
Before you get started on your easy gluten-free bread journey, gather the necessary tools. Having the right equipment will streamline the baking process and help you achieve the best results.
Essential Tools and Equipment
- Stand mixer or mixing bowl
- Measuring cups and spoons
- 9-inch x 5-inch bread pan or 9-inch x 4-inch small Pullman loaf pan
- Plastic wrap
- Kitchen towel
- Serrated knife
Importance of Each Tool
- Stand mixer or mixing bowl: A stand mixer makes mixing effortless, especially when incorporating wet ingredients into dry ones.
- Bread pan: The size and shape of your pan affect the final loaf’s texture and rise. A Pullman loaf pan gives you a perfect rectangular shape.
- Serrated knife: Using a serrated knife ensures clean slices without squishing the soft bread.
Ingredients
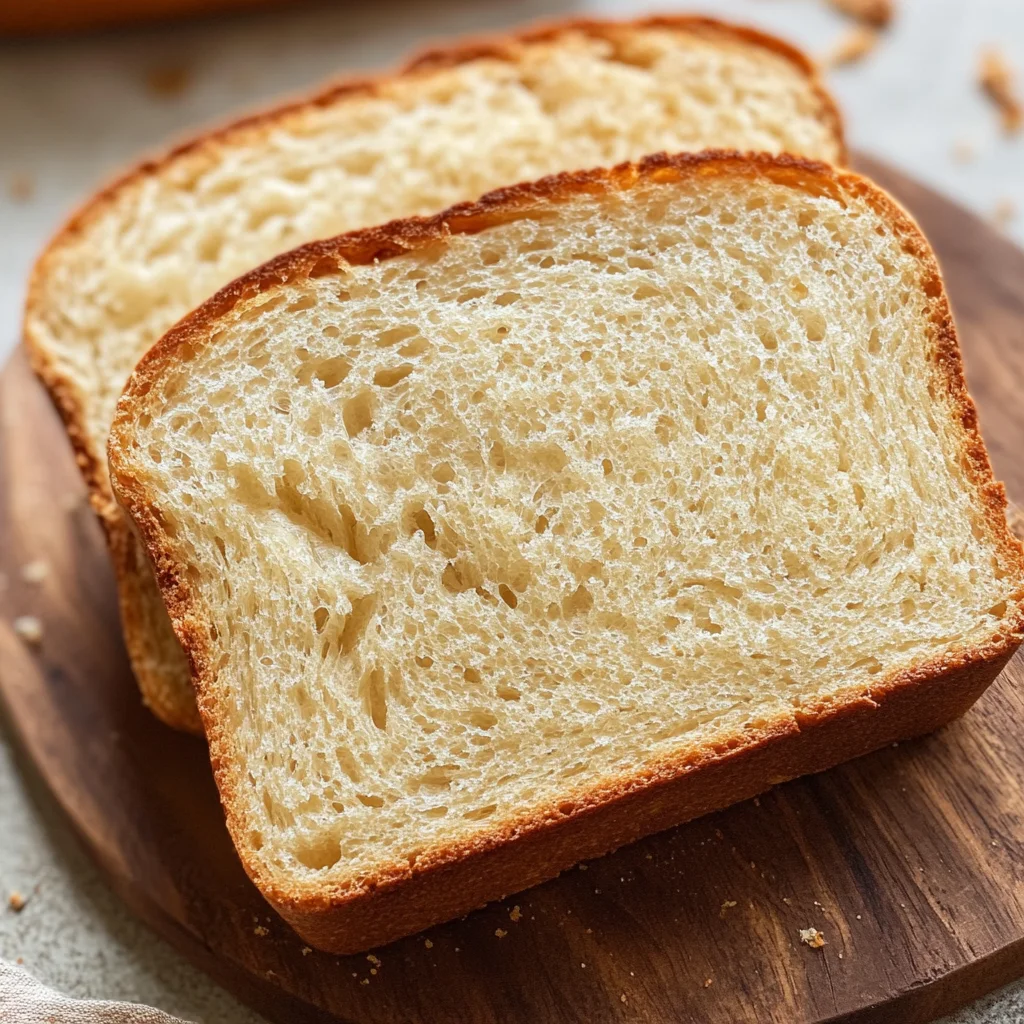
A gluten-free bread recipe that is easily baked in the oven. This soft gluten-free white sandwich bread has an amazing texture, bends, squishes, and is easy to slice. The bread is also naturally dairy-free.
Dry Ingredients
- 2 1/2 cups all-purpose gluten-free flour
- 1 teaspoon xanthan gum (leave out if your flour already has it in it)
- 1 teaspoon gluten-free baking powder
- 1 packet rapid rise/instant yeast (2 1/4 teaspoons)
Wet Ingredients
- 1/4 cup extra virgin olive oil
- 1/4 cup honey (you can use agave nectar or maple syrup)
- 1 teaspoon apple cider vinegar
- 1 1/2 cups warm water (100-110°F)
Additional Ingredients
- 3 egg whites (from large eggs at room temperature)
- 1 teaspoon salt
How to Make Easy Gluten-Free Bread
Step 1: Preheat the Oven
Preheat your oven to 350°F. Spray a 9-inch x 5-inch bread pan or a 9-inch x 4-inch small Pullman loaf pan with gluten-free cooking spray. Moving the top oven rack to the middle rack ensures even baking.
Step 2: Prepare Dry Ingredients
In a large bowl, combine the gluten-free flour, baking powder, and instant yeast. Stir well to mix all dry ingredients thoroughly.
Step 3: Mix Wet Ingredients
Add olive oil, honey, apple cider vinegar, and warm water to the dry mixture. Mix on low speed for about one minute until combined. If using a stand mixer, opt for the paddle attachment instead of the dough hook.
Step 4: Combine Egg Whites and Salt
Incorporate egg whites and salt into the batter. Mix on medium speed for another minute. Expect a thick cake batter-like consistency.
Step 5: Rise the Dough
Pour dough into your greased bread pan. Cover with plastic wrap sprayed with gluten-free cooking spray and then cover with a kitchen towel. Let it rise in a warm place for about 30 minutes.
Step 6: Bake the Bread
Place your loaf in the preheated oven and bake for approximately 30 minutes on the middle rack horizontally. The top should be golden brown when done.
Step 7: Cool Down
After baking, let the loaf cool in the pan for about ten minutes before transferring it to a cooling rack. Avoid leaving it in the pan too long to prevent sogginess.
Step 8: Slice Properly
Use a serrated knife for slicing once completely cooled to maintain its shape without squishing.
Step 9: Store Leftovers
Once cooled completely, store leftover bread in an airtight container at room temperature. To keep fresh longer, avoid pre-slicing before storage.
Step 10: Freezing Option
To freeze, wrap your cooled loaf tightly in plastic wrap followed by foil or freezer paper. Place it inside a freezer bag; it can be frozen for up to three months. Thaw overnight in the refrigerator when ready to enjoy again!
How to Serve Easy Gluten-Free Bread
This easy gluten-free bread is versatile and can be enjoyed in many delicious ways. Whether you prefer it toasted, as a sandwich, or paired with your favorite dip, there are endless possibilities to explore.
Toasted with Toppings
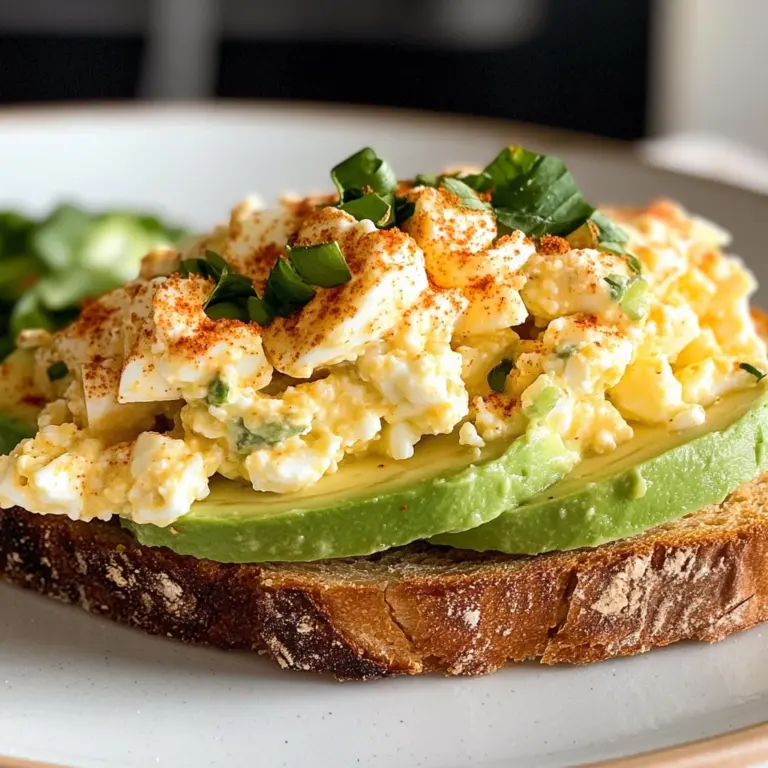
- Avocado Toast: Smash ripe avocados on toasted slices and sprinkle with salt and pepper for a quick and nutritious breakfast.
- Nut Butter Delight: Spread almond or peanut butter on warm bread and top with banana slices for a satisfying snack.
- Cream Cheese and Smoked Salmon: For a savory option, layer cream cheese and smoked salmon, garnished with capers and dill.
As Sandwiches
- Classic Grilled Cheese: Create a gooey grilled cheese sandwich by melting your favorite cheese between two slices of the bread on a skillet.
- Turkey Club: Stack turkey, lettuce, tomato, and mayo for a hearty lunch option that never disappoints.
- Veggie Delight: Fill the bread with hummus, cucumber, sprouts, and roasted red peppers for a refreshing vegetarian sandwich.
With Dips
- Hummus Platter: Serve sliced bread alongside hummus for dipping. Add olives and fresh veggies for an appetizer platter.
- Soup Companion: Pair the bread with creamy soups like tomato bisque or butternut squash for comforting meals during colder days.
How to Perfect Easy Gluten-Free Bread
To ensure your easy gluten-free bread turns out perfectly every time, follow these helpful tips. Each step will enhance the flavor and texture of your bread.
- Use High-Quality Flour: Choose a gluten-free flour blend that contains xanthan gum for better texture.
- Measure Ingredients Accurately: Use a kitchen scale for precise measurements to achieve consistent results.
- Warm Water is Key: Ensure the water temperature is between 100-110°F to activate the yeast properly.
- Don’t Rush the Rising Time: Allow sufficient time for the dough to rise in a warm environment; this helps develop flavor and structure.
- Check Internal Temperature: Use a kitchen thermometer; ensure the internal temperature reaches 205-210ºF for optimal doneness.
- Cool Before Slicing: Let the loaf cool completely before slicing to maintain its texture and prevent sogginess.
Best Side Dishes for Easy Gluten-Free Bread
Pairing your easy gluten-free bread with side dishes can elevate any meal. Here are some fantastic options that complement this delicious bread.
- Mixed Green Salad: A light salad with fresh greens, cherry tomatoes, and vinaigrette adds freshness to your meal.
- Roasted Vegetables: Season seasonal vegetables like carrots, zucchini, and bell peppers; roast them until tender for added flavor.
- Chili Con Carne: A hearty bowl of chili brings warmth and pairs well with slices of this soft bread.
- Vegetable Soup: Serve alongside a steaming bowl of vegetable soup for comfort during chilly evenings.
- Pasta Salad: A cold pasta salad tossed in olive oil and herbs makes a refreshing side dish that complements sandwiches well.
- Cheese Platter: An assortment of cheeses with fruits adds elegance when served as an appetizer alongside your homemade bread.
Common Mistakes to Avoid
Baking gluten-free bread can be tricky if you’re not aware of common pitfalls. Here are some mistakes to watch out for:
- Ignoring the flour blend: Different gluten-free flours have unique properties. Ensure you use a well-balanced blend for the best texture.
- Not measuring ingredients accurately: Gluten-free baking is precise. Use a kitchen scale to measure your flour and liquids correctly.
- Skipping the rising time: Allowing the dough to rise is crucial for texture. Don’t rush this step; give it at least 30 minutes in a warm place.
- Using cold water: Always use warm water (100-110°F) when mixing your ingredients. Cold water can hinder yeast activation and affect rising.
- Slicing the bread too soon: Let your bread cool completely before slicing. Slicing too early can result in a soggy loaf.
Storage & Reheating Instructions
Refrigerator Storage
- Store in an airtight container: This helps maintain freshness and prevents moisture loss.
- Consume within 5-7 days: For best flavor and texture, eat your bread within this time frame.
Freezing Easy Gluten-Free Bread
- Wrap tightly: Use plastic wrap followed by foil or freezer paper to prevent freezer burn.
- Freeze for up to 3 months: Thaw in the refrigerator overnight when ready to enjoy.
Reheating Easy Gluten-Free Bread
- Oven: Preheat to 350°F, wrap the bread in foil, and heat for about 10-15 minutes until warm.
- Microwave: Place a slice on a microwave-safe plate with a damp paper towel and heat for 15-20 seconds.
- Stovetop: Lightly toast slices in a skillet over medium heat until warmed through and slightly crispy.
Frequently Asked Questions
Here are some common questions about making Easy Gluten-Free Bread:
How can I make Easy Gluten-Free Bread softer?
To achieve a softer texture, try adding more egg whites or substituting some of the flour with almond flour.
Can I add spices or herbs to my Easy Gluten-Free Bread?
Absolutely! You can incorporate spices like cinnamon or herbs like rosemary to enhance flavor.
What is the best way to slice Easy Gluten-Free Bread?
Use a serrated knife for clean cuts. This prevents squishing and helps maintain shape.
How do I store leftover Easy Gluten-Free Bread?
Once cooled, store it in an airtight container at room temperature or freeze it for longer storage.
Final Thoughts
This Easy Gluten-Free Bread recipe offers great taste and texture while being naturally dairy-free. You can customize it by adding herbs or spices to suit your preferences. Enjoy this versatile bread with any meal or as a delicious snack!
Easy Gluten-Free Bread
- Prep Time: 15 minutes
- Cook Time: 30 minutes
- Total Time: 45 minutes
- Yield: Approximately 12 servings 1x
- Category: Bread
- Method: Baking
- Cuisine: Gluten-Free
Description
Experience the joy of homemade Easy Gluten-Free Bread, an irresistible delight that adds a special touch to every meal. This simple recipe results in a soft, fluffy loaf that’s perfect for sandwiches, toast, or simply enjoyed on its own. Naturally dairy-free and versatile, it’s ideal for those with dietary restrictions.
Ingredients
- 2 1/2 cups all-purpose gluten-free flour
- 1 teaspoon xanthan gum (if not included in flour)
- 1 packet rapid rise/instant yeast (2 1/4 teaspoons)
- 1/4 cup extra virgin olive oil
- 1/4 cup honey (or agave/maple syrup)
- 3 egg whites
- 1 1/2 cups warm water (100-110°F)
Instructions
- Preheat the oven to 350°F and grease a 9-inch x 5-inch bread pan.
- In a bowl, mix gluten-free flour, baking powder, and yeast.
- Combine wet ingredients: olive oil, honey, vinegar, and warm water; blend with dry ingredients until smooth.
- Add egg whites and salt; mix until thick like cake batter.
- Pour into the greased pan, cover with plastic wrap and a towel, and let rise in a warm spot for about 30 minutes.
- Bake for around 30 minutes until golden brown on top.
- Cool on a rack before slicing.
Nutrition
- Serving Size: 1 slice
- Calories: 150
- Sugar: 4g
- Sodium: 200mg
- Fat: 5g
- Saturated Fat: 0.5g
- Unsaturated Fat: 4g
- Trans Fat: 0g
- Carbohydrates: 24g
- Fiber: 2g
- Protein: 3g
- Cholesterol: 0mg