No-Knead Gluten-Free Bread
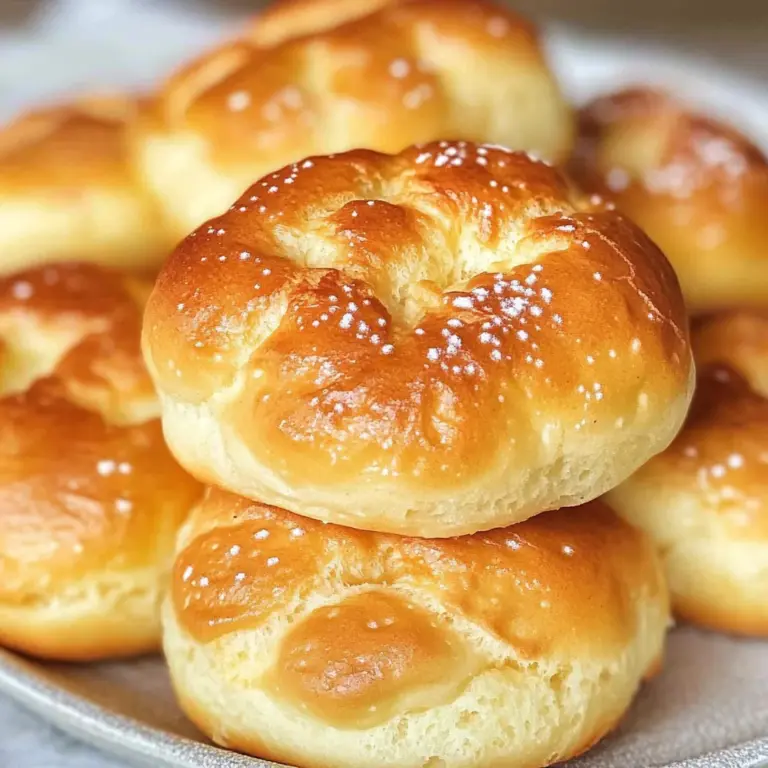
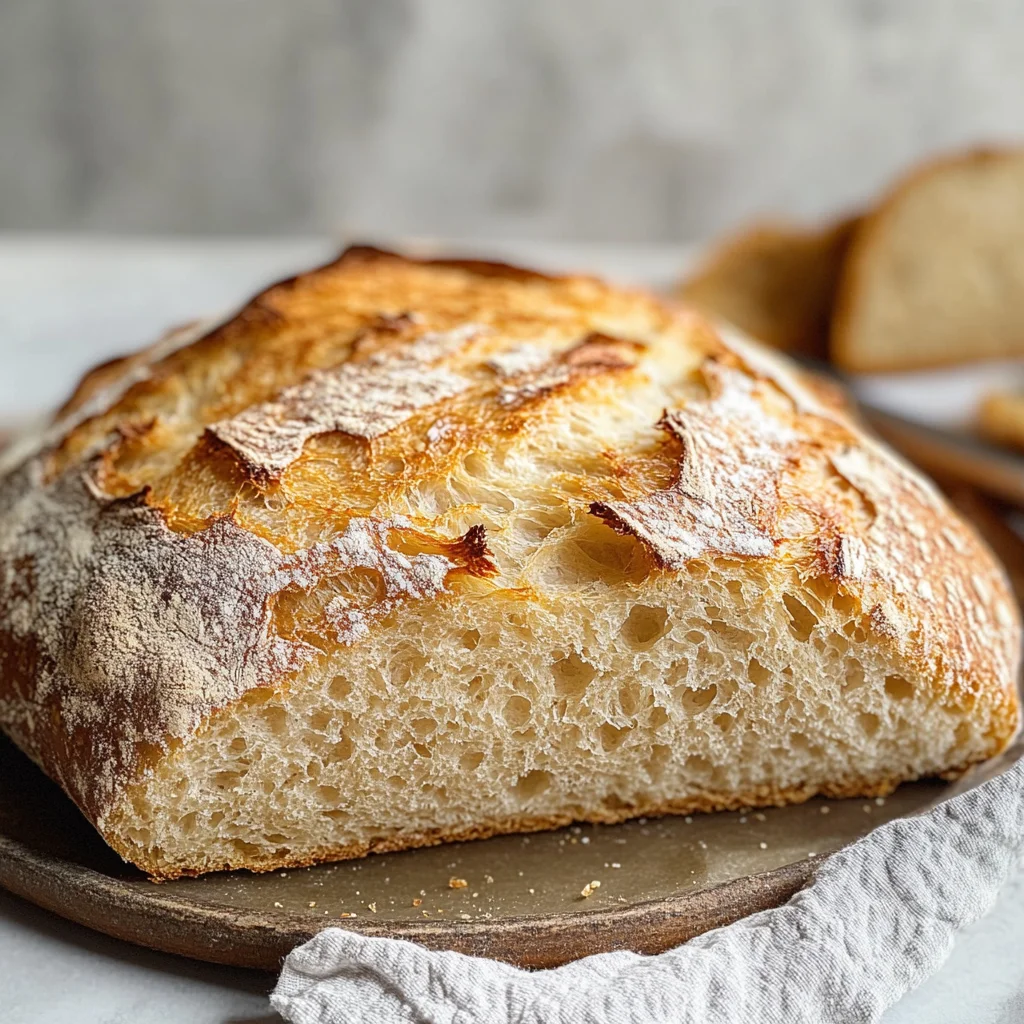
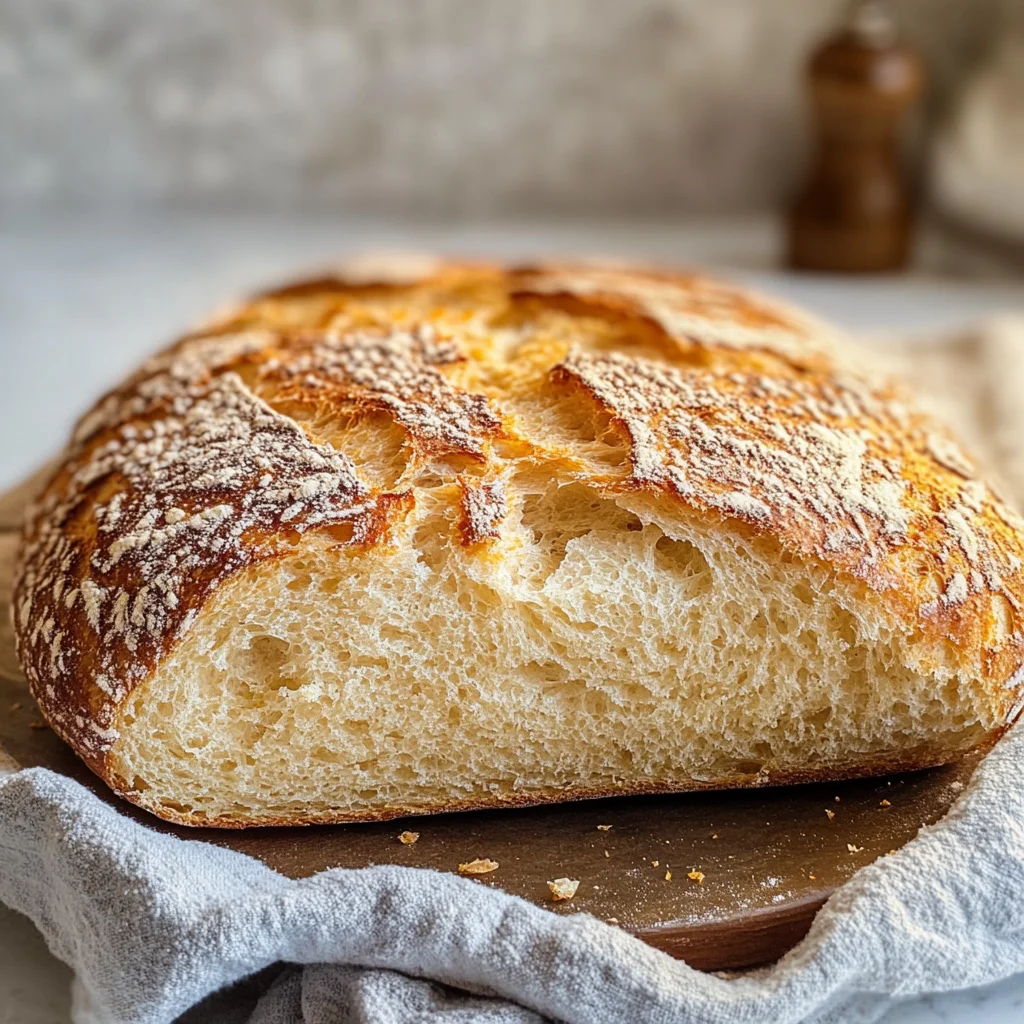
If you’re looking for a delicious and easy way to enjoy bread without gluten, my No-Knead Gluten-Free Bread recipe is perfect for you. This bread is not only fluffy on the inside but also crispy on the outside, making it an ideal choice for sandwiches, toast, or as a side dish for any meal. Whether you’re hosting a gathering or simply craving some fresh bread, this recipe will impress everyone—even those who aren’t gluten-free!
Why You’ll Love This Recipe
- Easy to Make: No extensive kneading or complicated steps are involved, making it accessible for everyone.
- Fluffy Texture: Enjoy a light and airy bread that rivals traditional options.
- Versatile Uses: Perfect for sandwiches, toast, or served alongside soups and salads.
- Gluten-Free Friendly: Everyone can enjoy this bread without worrying about gluten-related issues.
- Time-Saving: With just 10 minutes of prep time, you can have fresh bread baking in no time.
Tools and Preparation
Before diving into the recipe, gather your tools and prepare your workspace. This ensures a smooth baking experience.
Essential Tools and Equipment
- Mixing bowls
- Baking dish (with lid or foil)
- Measuring cups and spoons
- Wooden spoon or spatula
- Parchment paper
Importance of Each Tool
- Mixing bowls: Essential for combining ingredients without mess.
- Baking dish: A good quality dish helps achieve a perfectly cooked loaf.
- Measuring cups and spoons: Accurate measurements are crucial for the best results.
Ingredients
If you can’t have dairy or gluten, I have you covered with my easy No-Knead Gluten-Free Bread. This bread is fluffy on the inside and crispy on the outside. This is what all gluten-free bread dreams are made of. Even if you are not gluten-free.
Ingredients:
– 1.5 cups warm water (370 ml)
– 1 teaspoon sugar (4 grams)
– 1/2 teaspoon active dry yeast (2 grams)
– 3 cups gluten-free flour (420 grams) I used Caputo
– 1 teaspoon salt (5 grams)
How to Make No-Knead Gluten-Free Bread
Step 1: Activate the Yeast
Start by adding the first three ingredients to a bowl and stir. Wait five minutes; if the yeast does not activate, start that step all over. Make sure the water is warm—lukewarm works best.
Step 2: Mix Dry Ingredients
In a separate large bowl, add the flour and salt. Stir them well to combine.
Step 3: Combine Mixtures
Slowly add in the activated yeast mixture to the flour mixture. Stir until you reach a thick sticky dough consistency; it shouldn’t be too wet or too dry.
Step 4: Let It Rise
Cover the bowl with plastic wrap or a clean cloth and let it rest at room temperature away from drafts for 5 hours.
Step 5: Shape the Dough
Once risen, flour your counter lightly and pour out the dough. Flour the top of the dough and shape it gently into an oval ball—no kneading required!
Step 6: Prepare for Baking
Transfer your shaped dough into any baking dish lined with parchment paper. Cover with a lid; if you don’t have one, use double foil instead.
Step 7: Bake in Cold Oven
Place your bread in a cold oven set to 450°F (232°C). Bake for 40 minutes without pre-heating.
Step 8: Final Bake
After 40 minutes, uncover your bread and continue baking for another 30 minutes or until golden brown all over.
Step 9: Cool Down
Let your freshly baked No-Knead Gluten-Free Bread cool for about 5 to 10 minutes before slicing. Enjoy!
How to Serve No-Knead Gluten-Free Bread
No-Knead Gluten-Free Bread is versatile and can be served in various delightful ways. Whether you enjoy it plain or as a part of a meal, this bread complements many dishes beautifully.
As Toast
- Toasted slices make a perfect base for your favorite spreads, like avocado or almond butter.
With Dips
- Serve warm slices with hummus or guacamole for a delicious appetizer.
Sandwiches
- Use the bread to create hearty sandwiches filled with your choice of meats, veggies, and sauces.
With Soup
- Pair it with a bowl of hot soup for a comforting meal on chilly days.
For Breakfast
- Enjoy it with jam or honey for a sweet start to your day.
Cheese Board
- Include slices on a cheese board alongside nuts and dried fruits for a delightful combination.
How to Perfect No-Knead Gluten-Free Bread
Perfecting your No-Knead Gluten-Free Bread takes some practice, but these tips will help you achieve the best results.
-
Use the right flour: Stick to Caputo’s Gluten-Free Flour for consistent results. Other flours may yield different textures.
-
Check yeast activation: Ensure the yeast is bubbly before mixing; this guarantees proper rising and fluffiness.
-
Temperature matters: Maintain a warm environment while bread rests. This will help the dough rise properly.
-
Don’t rush cooling: Allow the bread to cool completely before slicing. This helps maintain its structure and texture.
-
Experiment with add-ins: Consider adding herbs, seeds, or spices to enhance flavor and nutrition.
-
Store properly: Keep leftover bread in an airtight container to maintain freshness without drying out.
Best Side Dishes for No-Knead Gluten-Free Bread
No-Knead Gluten-Free Bread pairs wonderfully with many side dishes, enhancing your meal experience. Here are some great options:
-
Garden Salad – A fresh mix of greens, tomatoes, cucumbers, and vinaigrette creates a refreshing contrast.
-
Roasted Vegetables – Seasonal veggies roasted until caramelized add depth and flavor to any meal.
-
Vegetable Soup – A warm bowl of vegetable soup is not only comforting but also complements the bread’s texture.
-
Chili – Hearty chili paired with this crusty bread makes for a filling and satisfying dish.
-
Stuffed Peppers – Colorful peppers filled with rice, beans, and spices offer a vibrant side option.
-
Pasta Primavera – Lightly sautéed vegetables tossed with gluten-free pasta provide a colorful and nutritious pairing.
-
Grilled Chicken Salad – Tender chicken atop mixed greens offers protein alongside the bread’s carbs for balance.
-
Garlic Butter Shrimp – Sautéed shrimp in garlic butter is an elegant dish that goes beautifully with warm slices of bread.
Common Mistakes to Avoid
Making No-Knead Gluten-Free Bread can be easy, but there are common pitfalls to watch out for. Here are the mistakes you should avoid to ensure a perfect loaf.
-
Using cold water: Always use warm water when activating yeast. Cold water will prevent the yeast from rising properly, resulting in dense bread.
-
Incorrect yeast measurement: Measure your yeast accurately. Too little yeast won’t allow the dough to rise, while too much can lead to an overly sour taste.
-
Not letting it rest long enough: Allow the dough to rest for at least 5 hours. Rushing this step can result in a flat loaf that lacks texture and flavor.
-
Ignoring dough consistency: The dough should be thick and sticky. If it’s too dry or too wet, adjust your flour or water accordingly before baking.
-
Preheating the oven: Do not preheat the oven. Place the bread in a cold oven; this helps create a better crust by allowing gradual heat absorption.
Storage & Reheating Instructions
Refrigerator Storage
- Store in an airtight container for up to 4 days. This keeps the bread fresh and prevents it from drying out.
- Wrap in parchment paper before placing in a container for added moisture retention.
Freezing No-Knead Gluten-Free Bread
- Slice the bread before freezing. This makes it easier to take out just what you need.
- Use freezer-safe bags or containers, and consume within 3 months for best quality.
Reheating No-Knead Gluten-Free Bread
- Oven: Preheat the oven to 350°F (175°C). Bake for 10-15 minutes until warmed through.
- Microwave: Heat slices on a microwave-safe plate for about 10-15 seconds per slice.
- Stovetop: Toast slices on a skillet over medium heat until golden brown and crispy.
Frequently Asked Questions
Here are some common questions about making No-Knead Gluten-Free Bread, answered for your convenience.
How do I know if my yeast is active?
If your yeast mixture bubbles and foams after resting for five minutes, it’s active and ready to use.
Can I use different gluten-free flours?
Yes, but results may vary. Stick with brands known for good performance like Caputo for best results.
How can I make this recipe dairy-free?
This recipe is already dairy-free! Enjoy it without any modifications needed.
What toppings pair well with No-Knead Gluten-Free Bread?
This bread is fantastic with butter, olive oil, or spreads like hummus or avocado.
Can I make this bread without sugar?
Yes, sugar helps activate the yeast but isn’t mandatory. You can skip it if desired; just ensure proper yeast activation.
Final Thoughts
No-Knead Gluten-Free Bread offers a delightful combination of fluffiness and crispiness that everyone can enjoy. This versatile recipe allows room for customization—add herbs, spices, or seeds to make it your own. Don’t hesitate to try this easy recipe; your taste buds will thank you!
No-Knead Gluten-Free Bread
- Prep Time: 10 minutes
- Cook Time: 70 minutes
- Total Time: 1 hour 20 minutes
- Yield: Approximately 12 slices 1x
- Category: Bread
- Method: Baking
- Cuisine: Gluten-Free
Description
If you crave warm, fresh bread but need to avoid gluten, this No-Knead Gluten-Free Bread recipe is your answer. With its delightful combination of a fluffy interior and a crispy crust, it’s perfect for sandwiches, toast, or as a side dish. Best of all, it requires no kneading and can be prepared in just 10 minutes. Whether you’re gluten-free or simply looking for a tasty alternative, this easy recipe will impress your family and friends with its irresistible texture and flavor.
Ingredients
- 1.5 cups warm water
- 1 teaspoon sugar
- 1/2 teaspoon active dry yeast
- 3 cups gluten-free flour (Caputo recommended)
- 1 teaspoon salt
Instructions
- Activate the yeast by mixing warm water, sugar, and yeast in a bowl; let it sit for five minutes until bubbly.
- In a separate bowl, combine gluten-free flour and salt.
- Gradually add the activated yeast mixture to the flour mixture, stirring until you achieve a thick, sticky dough.
- Cover the dough with plastic wrap and let it rise at room temperature for 5 hours.
- Lightly flour your counter and shape the risen dough into an oval ball without kneading.
- Place the shaped dough in a parchment-lined baking dish, cover it with a lid (or foil), and bake in a cold oven set to 450°F for 40 minutes.
- Uncover and bake for an additional 30 minutes until golden brown.
- Cool for 5-10 minutes before slicing.
Nutrition
- Serving Size: 1 slice (50g)
- Calories: 130
- Sugar: 0g
- Sodium: 150mg
- Fat: 0g
- Saturated Fat: 0g
- Unsaturated Fat: 0g
- Trans Fat: 0g
- Carbohydrates: 28g
- Fiber: 1g
- Protein: 2g
- Cholesterol: 0mg